How to measure your garden for a fencing quotation
Measure fence runs, record gates and level changes, and prepare photographs and an access brief without turning rough measurements into a materials order.
Planning a project? Use our printable measuring and quotation-comparison pack to record your brief and compare written offers.
A rough sketch and clear photographs are often more useful than a guessed panel count. Treat your figures as a project brief: the installer should verify the dimensions and layout before materials are ordered.
Use this guide to collect measurements and photographs. For the meaning of nominal sizes, bay widths and post counts, see fencing dimensions explained.
Decide what you are measuring for
There are two different jobs here. One is helping an installer understand the size and shape of the project. The other is producing a final materials schedule for a particular fencing system. A homeowner can usually prepare the first without attempting the second.
Start by writing “approximate measurements for quotation” at the top of your notes. That simple description avoids presenting a garden estimate as a cutting list. If you cannot reach part of the boundary safely, mark it as unmeasured and explain why. An honest gap is better than a precise-looking guess.
Do not remove boards, lean on unstable panels or enter neighbouring land to get a number. Use the safe accessible side and leave awkward measurements for the survey. This guide is about observing and recording the project, not setting out foundations or establishing a legal boundary.
Draw a sketch before using the tape
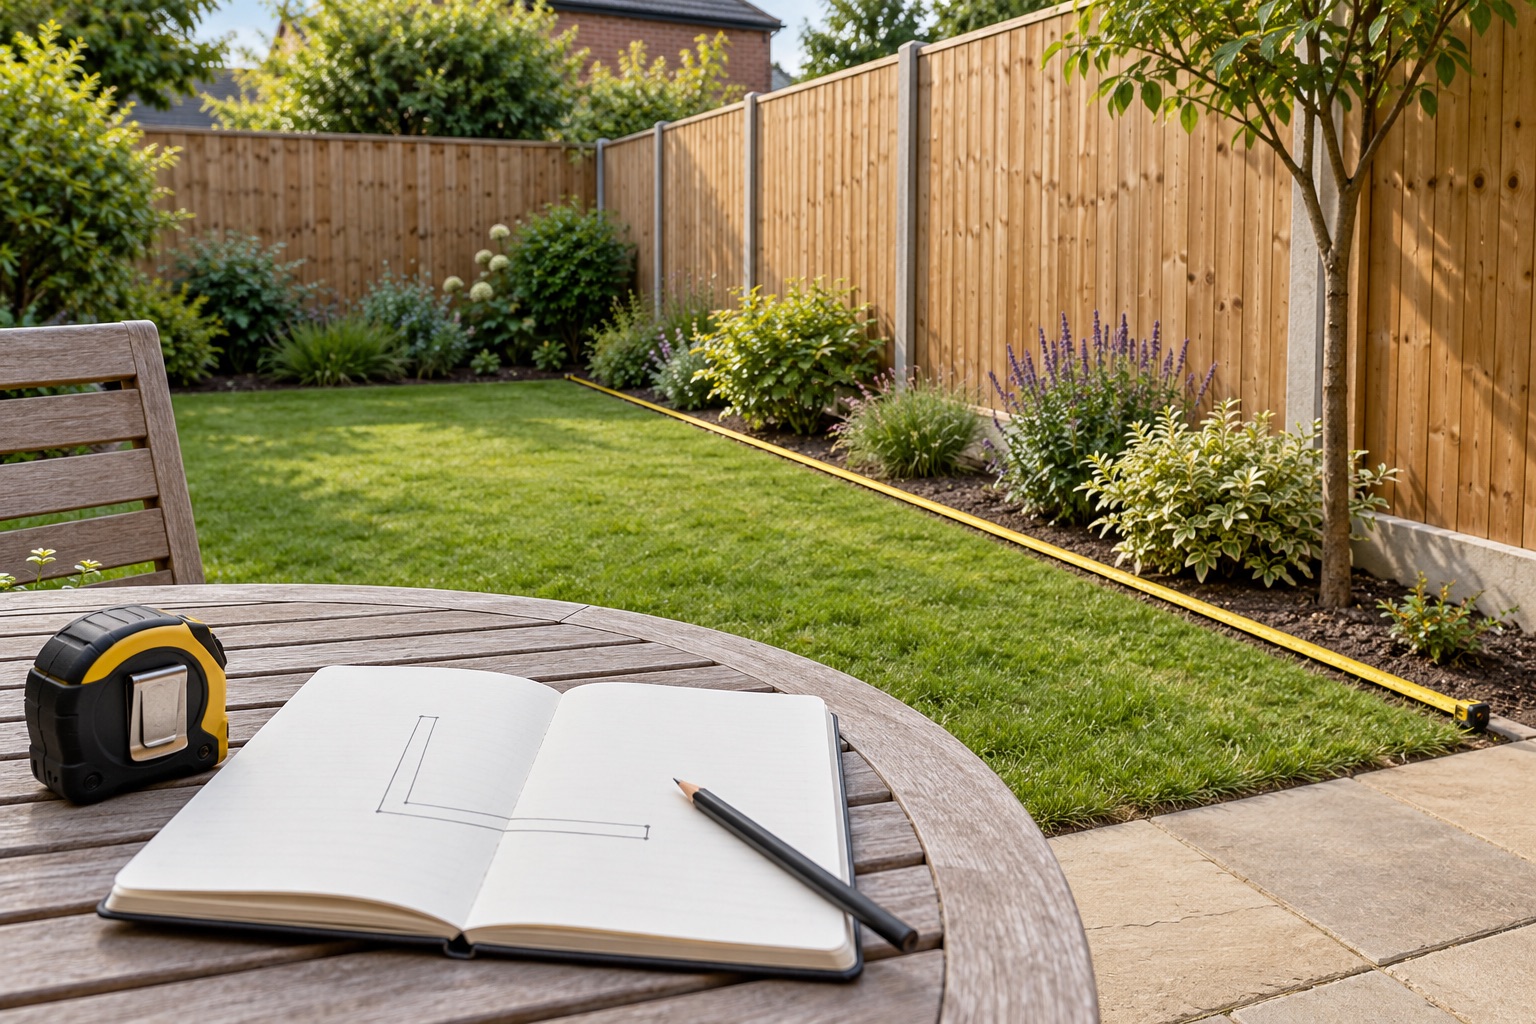
A rectangle with a house at one end is enough for many gardens. It need not be to scale. Mark the boundary sections you want changed, then give each straight run a letter. Add the shed, gate, steps and obvious obstacles so someone unfamiliar with the garden can understand the drawing.
Keep retained fencing distinct from proposed work. If you want the rear boundary replaced but only one side panel repaired, label those as separate tasks. Otherwise an installer may interpret one overall length as the amount of new fencing required.
Take the sketch into the garden and check its orientation. “Left side” can mean different things when viewed from the house or the street. Labels such as “run A: patio to rear corner” remove that ambiguity. Number your photographs to match the drawing.
Measure one straight run at a time
Where the route is level, clear and safely accessible, measure between the endpoints of each intended run. Keep the tape reasonably straight and supported rather than pulling it through dense planting. Record the result immediately with units. Avoid mixing metres and feet in the same list.
Write down what your endpoints mean. “Inside face of gate post to inside face of corner post” is a different measurement from the overall distance along a boundary. Neither is inherently wrong for an initial brief, but the installer needs to know which one you supplied.
On a slope, a measurement following the ground is not necessarily the horizontal distance used to set out components. Record how you measured and photograph the change in level. Do not try to correct the figure with a guessed allowance. The layout needs checking against the intended fence system.
For a long run, split the measurement at a clear intermediate point and record both parts. Repeat an easily accessible measurement once as a check. A substantial difference is a reason to look again, not to choose whichever number gives the preferred estimated price.
List gates and openings separately
Record where a gate goes and whether it is staying or being replaced. If you measure an existing opening, state whether the figure is the clear gap between supports or the width of the gate itself. Include photographs of the posts, hinges and nearby ground where safe.
Think about the things that need to pass through: a mower, bicycle, bin or occasional bulky delivery. The convenient opening is not always the one that matches the old gate. Note any proposed change as a design requirement rather than adding it quietly to the fence length.
A gate and its supporting structure should not simply be priced as another metre of panels. Keep it separate in your brief and in the quotation comparison. If you use our cost estimator, remember that gates are not included in its model.
Record existing and proposed heights clearly
Write down whether you are describing the panel, the complete fence or an approximate desired screen. Include gravel boards and toppers in the explanation of the finished arrangement. If the ground differs on each side, show that on the sketch and take a wider photograph.
It is fine to say “I want privacy from the patio, but need advice on height”. That describes a genuine requirement. Choosing a nominal panel size without considering the base, ground level or permissions can create a misleading brief.
Before committing to a change, read the Bedford fence-height and planning guide. Measuring a proposed height does not establish that it is permitted. Where the correct measurement method is uncertain, include the site details in the request for advice rather than assume one universal rule.
Why dividing the length by a panel width is not a materials order
A panel sits within a particular support arrangement. Posts, slots, brackets, corners, gates and end details affect the layout. Nominal dimensions also need checking against the actual product. A fence built from separate boards and rails is counted and laid out differently from a row of complete panels.
For example, a hypothetical six-metre straight boundary divided by a hypothetical two-metre bay gives three bays on paper. That does not establish the number of real panels to buy: you have not yet specified the system or established what those bay dimensions include. Keep the example as arithmetic, not a shopping instruction.
See our panel versus site-built guide before deciding how the run should be divided. Manufacturer guidance, such as Jacksons' feather-edge overview, illustrates that the same broad fence style can be supplied in different forms.
For conversions and the distinction between panel widths, openings and post centres, read fence sizes, bays and post counts. Keep the measuring brief separate from the final component schedule.
Take photographs that answer practical questions
- One wide view of each run, showing its endpoints.
- Views of corners, gates and noticeable level changes.
- A photograph of the route materials would take into the garden.
- Visible damage or obstacles, taken without moving an unstable fence.
- Any junction with a building or existing retained section.
Photograph the project rather than private life around it. Avoid people, vehicle registrations and unnecessary identifying details. Do not upload title documents merely to explain a length. If ownership needs investigating, deal with that separately using our boundary responsibility guide.
Add the details a Bedford-area site visit needs
Your address helps establish the location; it does not describe access. Mention a narrow passage, materials coming through the house, steps, restricted unloading or an entrance that needs arranging in advance. Describe where waste could be taken out as well as how new materials would get in.
Mark established trees and planting that must remain. For a Bedford Borough property, the council's protected-tree guidance provides a route for checking relevant restrictions. Do not prune or excavate simply to improve a preliminary measurement.
Note known services without trying to locate them by digging. HSE's underground-services guidance explains why planning, identifying services and safe excavation matter. Information you already hold can be useful to the installer, but an absence of information is not proof that the ground is clear.
A simple measuring brief to copy
Run A: endpoints and approximate length.
Run B: endpoints and approximate length.
Gate: location, existing opening and desired change.
Height: existing arrangement and desired outcome.
Retain/remove: which sections and components are included.
Access: entrance, steps, restrictions and unloading notes.
Uncertain: anything unmeasured or needing a survey.
Send the same version to each installer you approach. If a survey changes the figures or the specification, keep the revised brief and ask for prices to be updated on that basis. Our quotation-comparison guide shows how to keep those differences visible.
The aim is not to do the installer's setting-out work. It is to make the first conversation specific enough that everyone understands the same project, with the important unknowns still clearly marked.
A worked example of a useful measurement brief
Here is a fictional enquiry note: “Run A is approximately 8.4 metres, measured along the accessible garden side from the face of the gate post to the rear corner. There are four existing panels, but I have not checked whether their widths are identical. Run B is approximately 5.7 metres from that corner to the shed. The rear ground slopes; photographs 3 and 4 show the change. The gate is to remain, subject to checking its supports.”
That note communicates both the observations and their limits. It does not promise a panel count, establish the legal position or hide uncertainty behind a decimal place. Add whether those lengths include openings, which sections are being replaced and what route materials would take.
A second check should look for contradictions rather than create false precision. If the sketch shows a gate within run A but your length excludes it, label the opening separately. If you measured following sloping ground, say so instead of presenting the figure as a horizontal setting-out distance.
Before buying components, ask the installer to confirm the layout, heights, retained supports and any reduced bays. Use our access checklist if the survey or installation needs entry to adjoining land.
Once your approximate brief is ready, see what a site survey should establish. For a constrained route, use the narrow-access checklist.