How to clean algae and dirt from a garden fence
Identify the surface and condition, choose compatible cleaning methods and prepare for a finish without confusing green growth with structural decay.
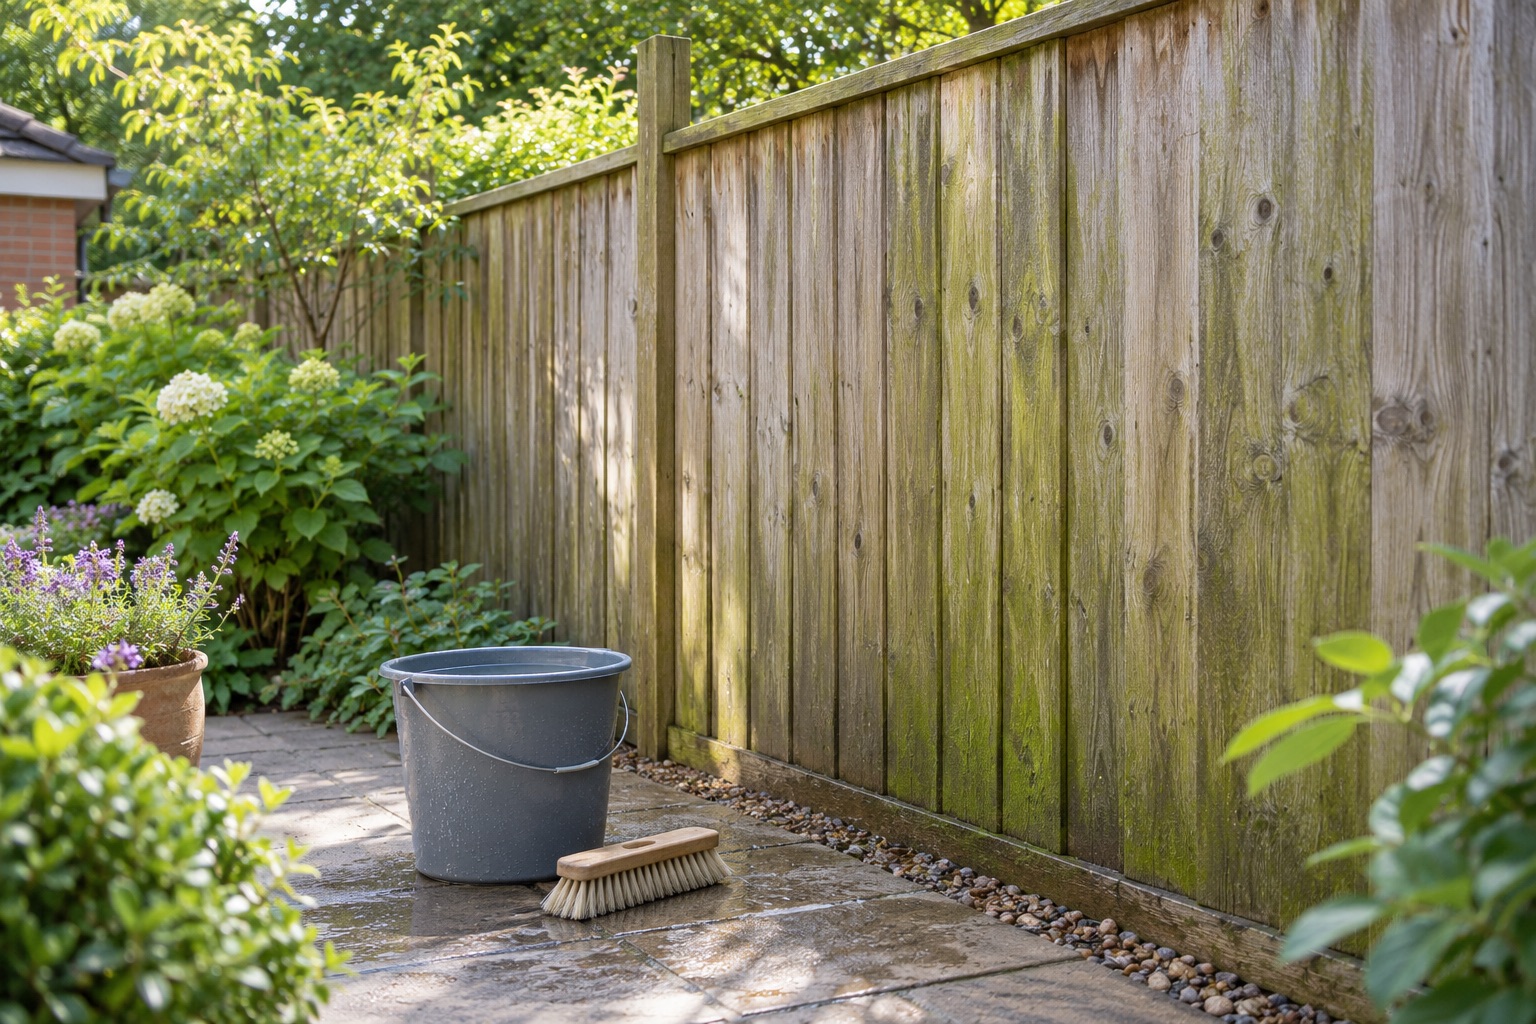
Green growth or dirt is not the same as structural rot. Use a method compatible with the timber, coating and surroundings; avoid assuming a strong jet or household chemical is suitable for every fence.
What are you trying to remove?
A shaded fence may develop green surface growth, accumulate dirt or simply weather to grey. Those are different changes. Start with what you can see and the reason for cleaning: improving appearance, preparing for a coating or checking a suspicious area.
If timber is crumbling, connections have failed or the fence moves, address that condition first. Washing cannot restore lost strength. Our rot warning-sign guide helps separate cosmetic changes from faults needing assessment.
Look from a safe accessible position. Do not climb the fence or pull vegetation away from an unstable section to expose a larger cleaning area.
Find the material and coating instructions
Treated timber, an older painted fence and composite components may need different care. Check the product reference or ask the supplier about the actual surface. A cleaner suitable for paving should not be assumed suitable for timber or its coating.
Cuprinol's fence preparation guide gives methods in the context of its finishing system. Read such guidance with the selected product instructions rather than transferring every step to an unrelated fence.
If you do not know the old finish, explain that before buying a treatment. A small inconspicuous test, where the manufacturer recommends it, can help reveal an unwanted change in colour or surface condition.
Begin with the least aggressive suitable method
Loose leaves and accessible debris may be removed without a chemical wash. For cleaning beyond that, use the supplier's recommended brush, water or cleaning product and avoid scrubbing hard enough to damage the surface.
Work in a manageable area and check the result as it dries. A wet board can look darker and temporarily conceal marks. Do not judge the final appearance or readiness for coating while the timber remains wet.
Keep the working area and any runoff under control. Nearby paths can become slippery, and dirty water should not simply be directed onto a neighbour's property.
Can you pressure-wash a timber fence?
Only use a pressure washer if the relevant material and finish guidance permits it and you can control the method. A concentrated jet can damage fibres or disturb a weak assembly. There is no universal nozzle, distance or pressure setting here that suits every fence.
Do not use forceful washing to strip suspect coatings or test rotten timber. If the condition or finish is unknown, get advice on a gentler approach. A quick visible improvement is poor value if it leaves roughened or damaged boards.
Avoid improvised chemical recipes
Do not mix cleaning products or assume vinegar, bleach or a paving biocide is appropriate because it is commonly mentioned online. Check the label for the surface, application, protection, rinse requirements and disposal.
Keep products in their labelled containers and protect children, pets, planting and water features as directed. RoSPA's garden-safety guidance covers chemical storage and following manufacturers' instructions. “Natural” is not a useful substitute for checking suitability.
If the work is preparation for painting, confirm that any cleaner residue is compatible with the coating system. Do not leave that question until the paint fails to adhere.
Why might the green growth return?
Consider the setting: persistent shade, dense planting, leaf buildup and limited drying may all be relevant observations. Cleaning changes the surface condition at that time; it is not a promise that the environment will no longer favour growth.
Keep accessible debris from accumulating and plan plant maintenance without damaging roots or cutting growth you are not entitled to alter. Our climber guide helps maintain inspection access around planting.
Choose the next step from the condition you can see
| Observation | Useful next step |
|---|---|
| Loose dirt on an otherwise sound surface | Check the care instructions and begin with compatible gentle cleaning |
| Green growth where a new finish is planned | Check both cleaner and coating preparation requirements before applying either |
| Soft or crumbling material, loose connections or movement | Arrange a condition assessment before cosmetic work |
| An unknown old coating | Identify the finish or obtain advice before stripping or overcoating |
For example, a sound-looking panel with dirty lower boards and a moving post presents two jobs. Cleaning may improve the boards' appearance, but it should not delay assessment of the support. Keep photographs of the original condition and tell the installer what has already been applied.
After a permitted test clean, inspect the dry result before continuing across the whole run. If the surface changes unexpectedly, stop and ask the product supplier about the actual material and method used. Repeating a stronger treatment is not a reliable way to correct an unexplained result.
Before painting or deciding on replacement
Allow the surface to reach the condition required by the coating manufacturer, then follow its preparation process. See painting and staining for compatibility and timing questions.
If defects become visible after cleaning, obtain a condition-led repair assessment. For a Bedford-area enquiry, include photographs, the known material and what cleaning has already been done. A weathered fence may need care rather than replacement, but a failed support needs more than a cleaner surface.